Schimmel & dunkle Flecken
Feuchte Wandbereiche werden zur Brutstätte für Schimmelpilze. Schwarze Flecken, modriger Geruch, freigesetzte Sporen — Atemwegsbeschwerden und Allergien sind die Folge.
RUBBERPAINT
local_shipping
Versandkostenfrei ab €199,00
trending_up
Nur noch €199,00 bis kostenlosem Versand!
check_circle
Versandkostenfrei freigeschaltet! 🎉
bolt
Versand in 24 h
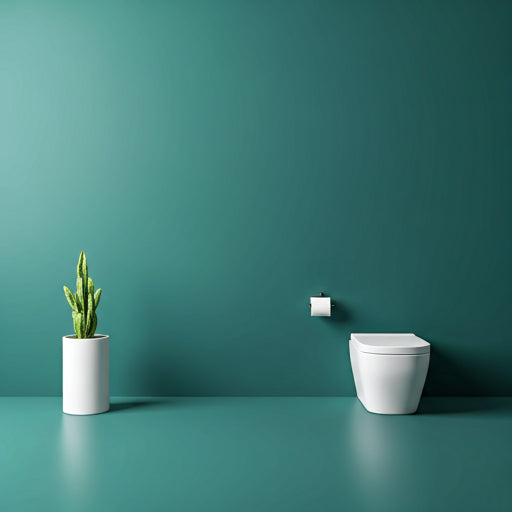
Elastic interior coating for damp basement walls. Stops mould growth, protects the building fabric and stays vapour-permeable — the masonry can keep breathing while water is reliably blocked.
Damp basement walls aren't a cosmetic problem — they destroy building fabric, encourage mould and endanger occupants' health. The longer you wait, the more expensive the refurbishment.
Feuchte Wandbereiche werden zur Brutstätte für Schimmelpilze. Schwarze Flecken, modriger Geruch, freigesetzte Sporen — Atemwegsbeschwerden und Allergien sind die Folge.
White crystalline deposits on the wall signal rising damp. The salts spall the render from the inside — classic paints get pushed off under the pressure.
Even without visible mould, lasting moisture changes indoor air quality. Occupants report headaches and difficulty concentrating — the basement goes unused, property value drops.
Wasserdampf kann von innen nach außen entweichen, Flüssigwasser wird gesperrt. Kein Feuchtigkeitsstau, keine Blasenbildung an der Beschichtung.
Hält dem Druck von Salzausblühungen stand. Anders als Dispersionsfarben löst sich die elastische Membran nicht ab, wenn Salze aus dem Mauerwerk drücken.
Folgt Setzungsrissen ohne zu reißen. Auch bei kleinen Bewegungen im Mauerwerk bleibt die Abdichtung intakt.
Wasserbasis mit fungiziden Zusätzen — bietet keinen Nährboden für Schimmel. Die geschlossene Oberfläche lässt sich bei Bedarf abwischen.
Remove loose spots without compromise.
Mechanically remove loose and spalled render — down to sound masonry. Fill out with concrete repair mortar or renovation plaster, let cure for 7 days. The wall must be sound, clean and dust-free before further treatment.
With massive damage (> 5 % of the area) consult a masonry specialist — interior coating alone won't be enough here.
Pro tip: Apply a salt-blocking primer before filling — prevents rising salts from later blasting the repair apart.
The invisible brake.
Brush salt crystals off dry — never wash, because water only dissolves the salts briefly and they come back. Then apply a salt-blocking primer to stop migration. With mould: use a commercial mould remover, let act for 24 h, rinse thoroughly, dry for 48 h.
Wall moisture must be below 4 % before further treatment — at higher moisture fix the cause first.
Pro tip: Mould is a symptom, not a cause — find the moisture source (condensation, leaky wall, missing drainage) and fix that first, otherwise mould returns.
Hydrophobising deep primer.
On strongly absorbent or damp substrate apply a hydrophobising deep primer. This stabilises the render and improves coating adhesion. Let dry for 12 h before further work.
On stable, dry substrate primer can be skipped — proceed directly to Step 4.
Pro tip: In basements with condensation problems, dry with a building dehumidifier for 1–2 weeks before starting — otherwise residual moisture keeps working under the coating.
Dilute with 5 % water.
Work in the first coat generously with brush or lambswool roller — slightly diluted with up to 5 % water for deep penetration. Consumption 150–200 g/m². At settlement cracks or wall-to-floor transitions, embed reinforcement fleece (60 g/m²) into the wet coat and roll flush with a press roller.
Go over corners and connections multiple times — the fleece must be fully saturated.
Pro tip: In damp corners first pull a narrow concrete fillet, then reinforce with fleece — water then runs off instead of collecting in the corner.
Undiluted, full coverage.
After 6–8 h drying apply the second coat undiluted. Consumption 100–150 g/m². Cured and safe against rising damp after 28 days. Until then, ventilate the room with low humidity — a building dehumidifier is recommended.
Against pressurised water (groundwater, hillside) interior coating alone is not enough — additional exterior waterproofing required.
Pro tip: In intensively used basement rooms a third coat is recommended — nearly doubles service life and provides extra reserve against micro-cracks.
Against pressurised water (groundwater, hillside positions) interior coating alone is not enough — exterior waterproofing is also required. Interior coating with RubberPaint works reliably against diffuse moisture, condensation and light ingress.
Kellerwände sind oft saugend — der Verbrauch liegt etwas höher als bei normalen Wandflächen. Geben Sie die Wandfläche ein, wir berechnen den optimalen Materialbedarf.
Standard: 2 coats. 3 for heavily-stressed surfaces.
Verbrauch: 200 g/m² pro Schicht. +10 % Reserve für Schnittkanten und unebene Flächen. Bei Großprojekten (> 80 m²) kontaktieren Sie uns für eine individuelle Beratung.
Empfehlung
für 20 m² · 2 Schichten
Wird berechnet…
Versandkostenfrei ab 199 € — schauen Sie sich Ihren Warenkorb nach dem Hinzufügen an.
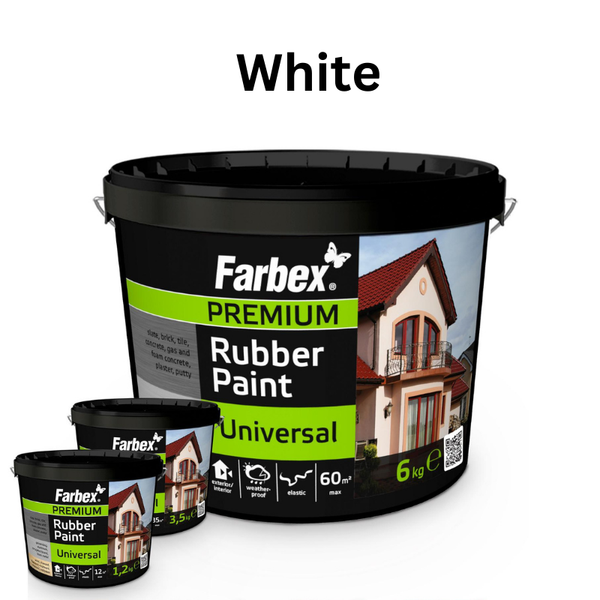
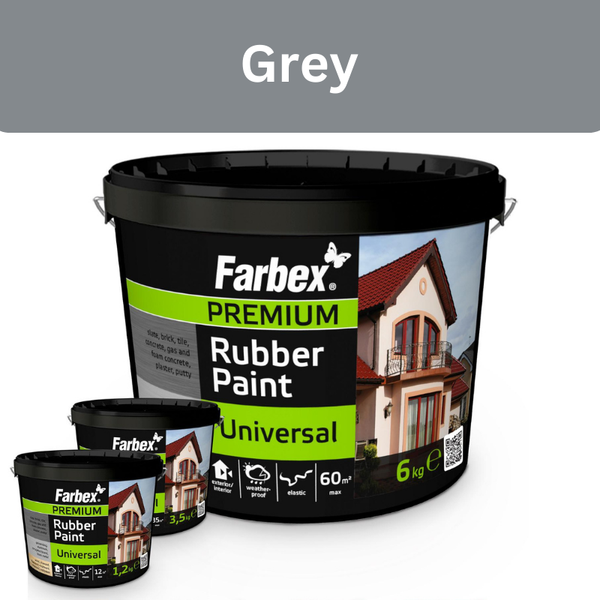
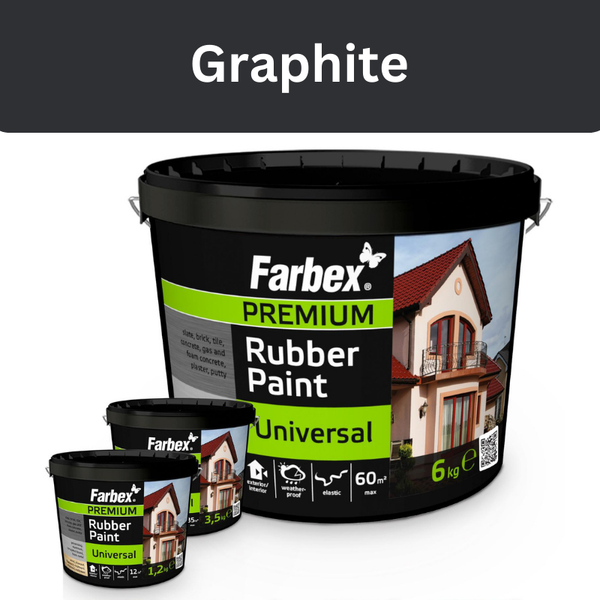
Helle Töne maximieren die Raumhelligkeit im Keller — Weiß ist Standard für Wohnräume, Grau und Anthrazit für Hobby- und Werkstattbereiche. Schwarz nur für Sockelbereiche.
Unser Team berät Sie zu Wandzustand, Vorbereitung und richtigem Vorgehen bei Salzen oder Schimmel — kostenlos und unverbindlich.