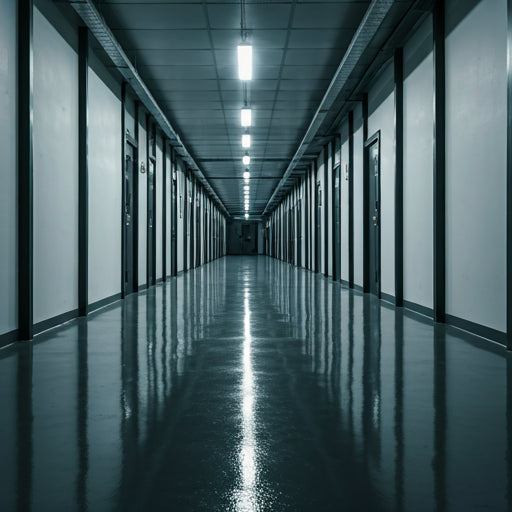
Freeze-thaw spalling
Wasser dringt in Kapillarporen ein. Bei Frost dehnt es sich um 9 % aus und sprengt den Beton von innen. Sichtbar als Abplatzungen, Risse, freigelegte Bewehrung.
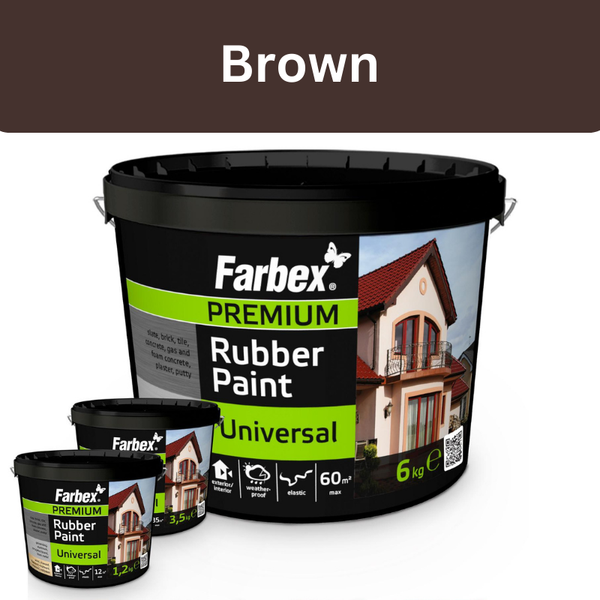
RUBBERPAINT
local_shipping
Versandkostenfrei ab €199,00
trending_up
Nur noch €199,00 bis kostenlosem Versand!
check_circle
Versandkostenfrei freigeschaltet! 🎉
bolt
Versand in 24 h
Elastic concrete paint for exposed concrete, plinths, retaining walls and garden masonry. Protects against carbonation, stops water ingress and follows thermal movements of the concrete without cracking.
Concrete looks massive and indestructible — but it is porous and absorbent. Without a coating water seeps in, frost spalls from the inside, CO₂ alters the chemical structure. After 10–15 years damage begins that is mostly not repairable.
Wasser dringt in Kapillarporen ein. Bei Frost dehnt es sich um 9 % aus und sprengt den Beton von innen. Sichtbar als Abplatzungen, Risse, freigelegte Bewehrung.
CO₂ aus der Luft reagiert mit Beton und senkt den pH-Wert. Folge: Die Bewehrung verliert ihren Korrosionsschutz, rostet — Rost dehnt sich um Faktor 7 aus und sprengt den Beton.
Feuchte Beton-Oberflächen sind ideal für Algen, Moos und Flechten. Die biologische Aktivität greift den Beton an und sorgt für unschönes, dunkelgrünes Erscheinungsbild.
Geschlossene Membran stoppt das Eindringen von Kohlendioxid. Schützt die Bewehrung vor Karbonatisierung und damit vor Korrosion.
Restfeuchte aus dem Beton kann nach außen entweichen — kein Feuchtigkeitsstau, keine Blasenbildung. V2 nach EN 1062-1.
Wasser dringt nicht mehr in den Beton ein — Frostsprengung wird verhindert. Geprüft für mitteleuropäische Witterung.
Hochelastisch (Klasse A0/C0 nach EN 1062-1) — überbrückt feine Risse, die durch Temperatur, Schwinden oder Setzungen entstehen. Klassische Betonfarben reißen mit.
Clean concrete is a prerequisite.
Pressure washer (min. 150 bar) — remove dirt, algae, loose particles and salt efflorescence. Close cracks > 1 mm with repair mortar, fill spalled areas and let cure for 7 days. Remove form oil and laitance mechanically or dissolve with concrete cleaner.
Residual moisture must be below 4 % — for fresh concrete wait at least 28 days of curing.
Pro tip: Spot laitance (shiny surface layer) with the water-drop test — if water beads up, the surface needs sanding or concrete cleaner treatment.
Reduces consumption, improves adhesion.
On strongly absorbent concrete (fresh exposed concrete, old plinths, lime sandstone) apply a hydrophobising deep primer. Reduces first-coat consumption by up to 30 % and significantly improves coating anchorage. Let dry for 12 h before further work.
On sound, closed old paint, primer can be skipped — proceed directly to Step 3.
Pro tip: Don't apply deep primer thickly — a thin, absorbed coat is enough and prevents glossy spots that would weaken adhesion.
Dilute with up to 5 % water (up to 10 % with airless sprayer).
Dilute with up to 5 % water (airless sprayer up to 10 %). Apply with lambswool roller or wide brush. Diluted, the paint penetrates deep into the pores and anchors. Consumption on strongly absorbent concrete 200–250 g/m², on normal exposed concrete 100–150 g/m². Full-surface in one pass, no visible joins.
Particularly careful at plinth edges and water-run-off points — these are exposed to splash water.
Pro tip: On large areas work in strips of about 1 metre wide — prevents visible join lines between separate passes.
At least 6 hours.
The first coat must be fully dry through. In cool weather or high humidity wait longer — up to 12 h. Test: the coat must no longer be tacky to finger pressure and leave no impressions.
Protect the concrete surface from direct sun and rain during drying — direct sun risks streaking from drying too fast on the surface.
Pro tip: Work mornings on the shaded side, afternoons on the sunny side — follow the sun and use the best temperatures.
Undiluted, crossed.
Apply undiluted, cross to the first coat. Consumption 150–200 g/m². Rain-resistant after 24 h (manufacturer specification), fully load-bearing after 28 days. For plinths or retaining walls in the splash zone a third coat is recommended — extends service life by years.
At splash-water edges (lower 30 cm) apply the second coat slightly more generously for extra protection.
Pro tip: Judge the final colour only after full curing (28 days) — fresh coating looks slightly milky but clears up completely.
Concrete is highly absorbent — calculate 100–250 g/m² per coat instead of the usual 100–200. On strongly absorbent exposed concrete up to 300 g/m² in the first coat. Never coat fresh concrete (< 28 days) — concrete must carbonate and cure first.
Beton ist stark saugend — der Verbrauch ist 30 % höher als bei Putz. Bei stark saugendem Sichtbeton empfehlen wir 3 Schichten.
Standard: 2 coats. 3 for heavily-stressed surfaces.
Verbrauch: 200 g/m² pro Schicht. +10 % Reserve für Schnittkanten und unebene Flächen. Bei Großprojekten (> 80 m²) kontaktieren Sie uns für eine individuelle Beratung.
Empfehlung
für 20 m² · 2 Schichten
Wird berechnet…
Versandkostenfrei ab 199 € — schauen Sie sich Ihren Warenkorb nach dem Hinzufügen an.
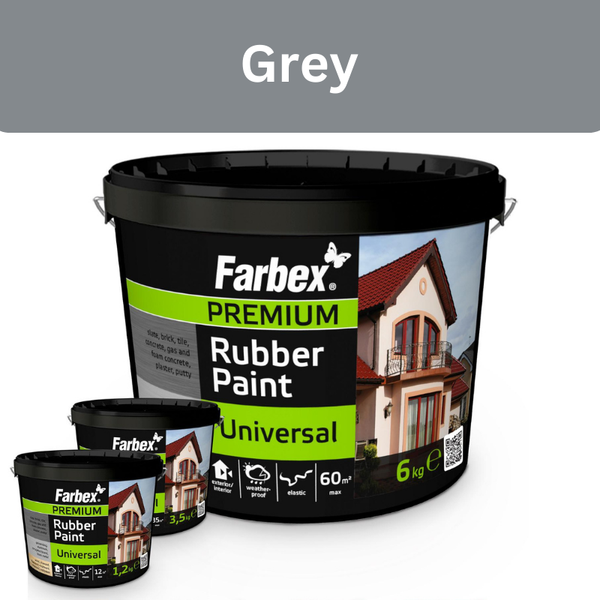
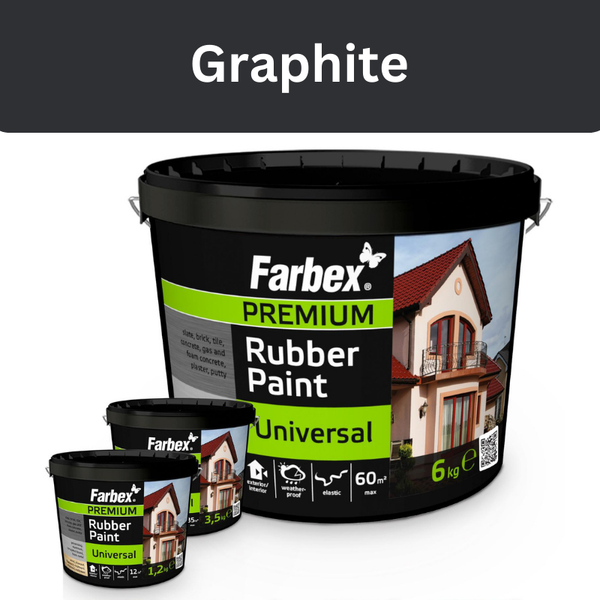
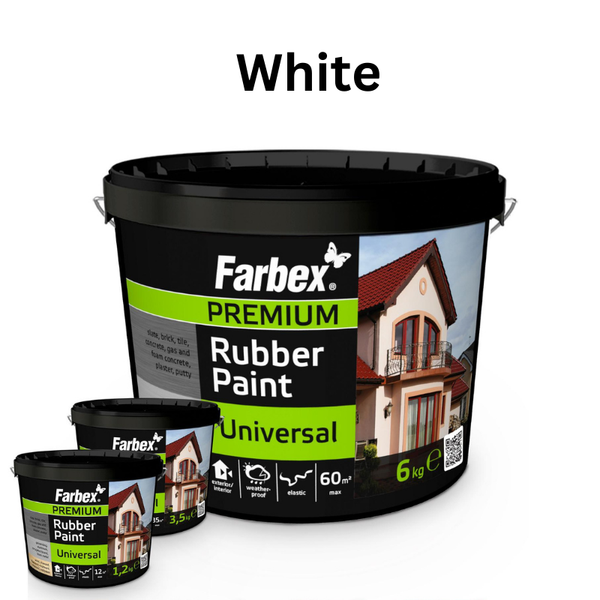
Grau und Anthrazit sind die klassischen Beton-Farben — passen zu Sichtbeton und Sockelbereichen. Weiß und Beige für hellere Akzente, Braun für Garten-Stützmauern.
Unser Team berät Sie zu Beton-Beschaffenheit, Vorbereitung und Materialbedarf — kostenlos und unverbindlich.